Halloween is an excellent time to have Party Favors for your guests. I consider Trick-or-Treaters guests, too. Without them scurrying up and down the street, Halloween wouldn’t be worth celebrating. I enjoy the variety of costumes and the enthusiasm these youngsters bring to make the night exciting for those of us who are home handing out the candy.
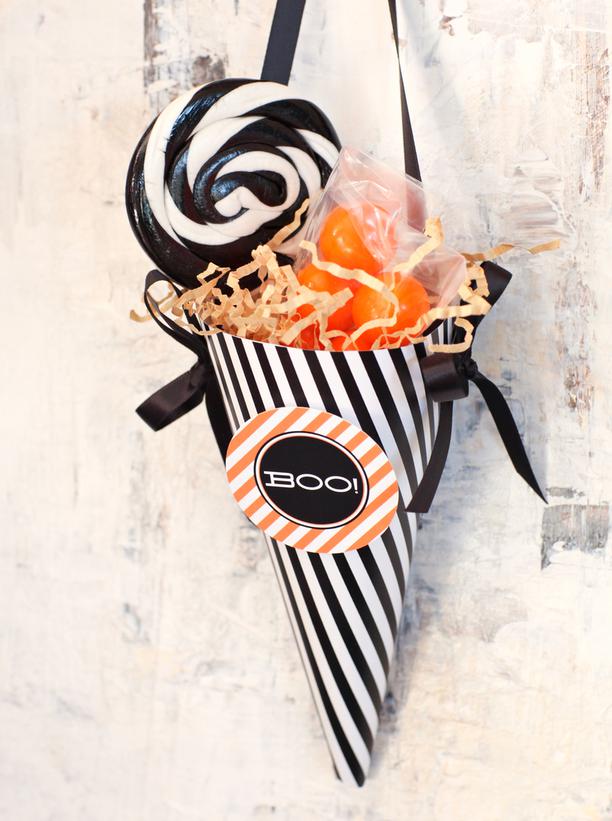
These Halloween Treat Cones are easy to make, fun to decorate and I do enjoy looking for just the right candies to put inside. The Free Template has the pattern printed on it and there’s another Free Template that gives a Halloween sentiment.
I suggest you make a couple dozen of these to be the highlight of this Neighborhood Halloween Celebration.
Image Compliments of http://www.hgtv.com
Here are the free templates: Halloween Striped Treat Cone and Halloween Party Circles
Now, what do you do?
You’re going to need a few things:
-
white card stock for the templates (also a color printer)
- scissors
- hole punch
- curly ribbon in black and orange and regular black or orange ribbon
- double sided tape
- tissue paper
- Halloween candy and small Halloween related items
Now, what?
- Print out the free templates on white card stock
- I would print out a dozen or so of the cone template and one or two of the party circles. There may be some expressions you like better than others to put on your party favors treat cones.
- Cut out the cone around the edges. Form it in a cone shape and secure it in place with the double sided tape.
- On both sides of the cone, punch a hole for the ribbon handle on top and embellishments on the sides. I like using curly ribbon to make them look festive and even to have loose ones to top off the top of the cone.
- I have a 2 1/4″ circle paper punch to cut out the party circles, but you can use a compass or jar lid that will give you the size circle you like. Or you can keep it a square for a different look. Once it’s cut out, put it on the front of your cone with double sided tape.
- Fill the cone with tissue paper — I like to tuck it in the pointy part of the cone to keep things from falling out. I also like to have some tissue paper peeking out to add color and to leave room for step 7.
- Fill it up with Halloween candy and Halloween related items you picked up along with the candy.
There you have it! Once you’ve done your first dozen, you may decide you need another for friends, neighbors and unexpected guests.


